Written by
How To Ebonize Paper Mache (Celluclay)


Written by
Category
Release Date
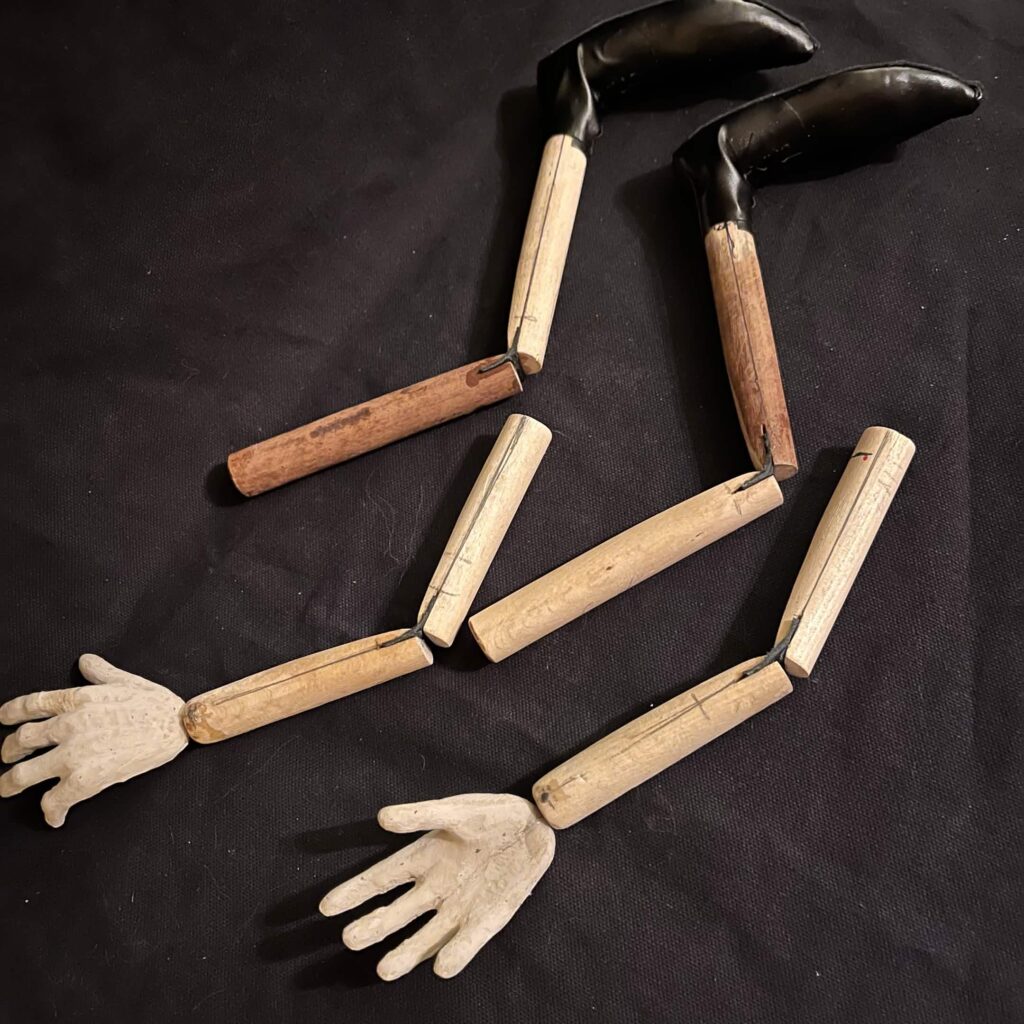
If you spend enough time building marionettes, eventually you end up obsessing over joints. A badly made joint ruins movement no matter how nice the carving, weight and center of mass is. Too stiff and the puppet fights itself. Too loose and the limbs wobble around like wet rope. Leather joints are one of the oldest and most reliable solutions, and they are simple enough to make with basic tools and a little patience.
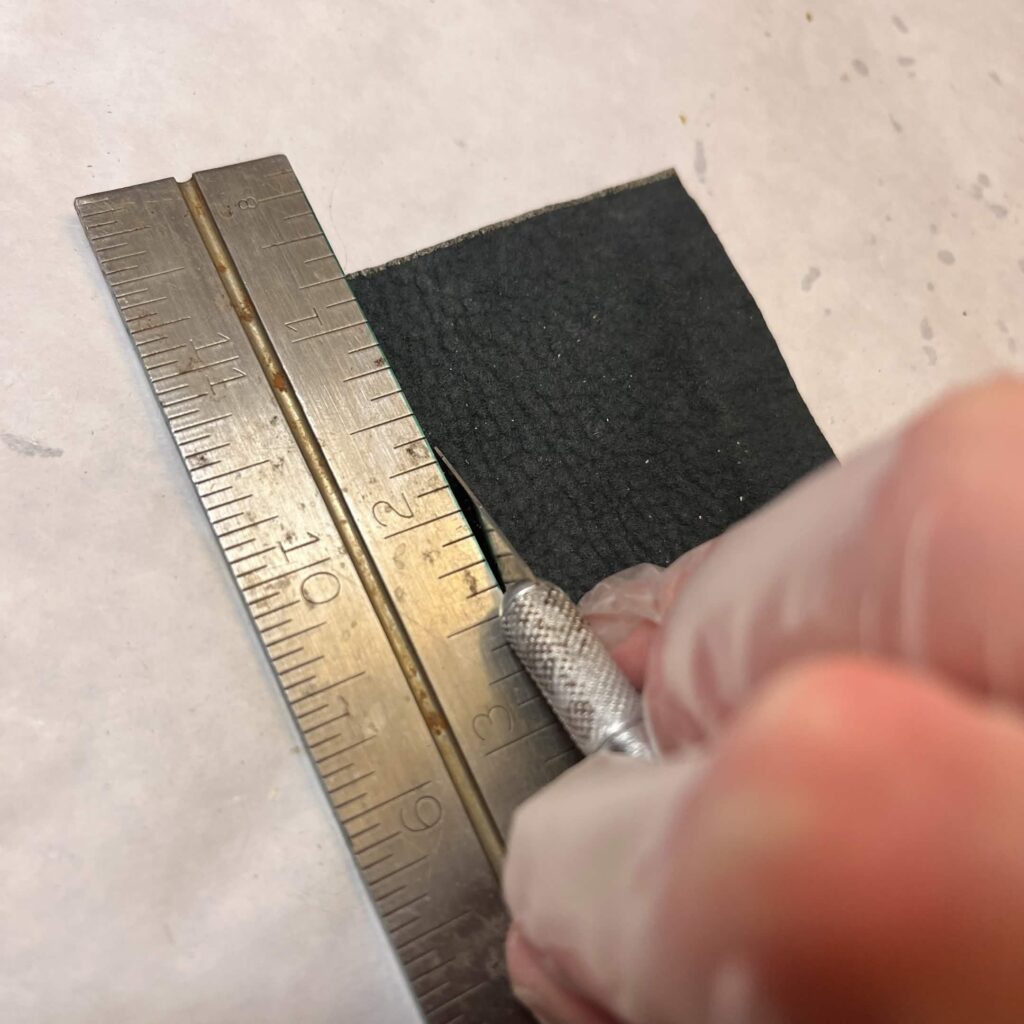
The first thing I prepare are the leather hinge strips. For this marionette, I cut four strips of leather measuring 7/8 inch wide and 2 inches long. The leather I chose is about 1/16″ thick. These will become the elbow and knee joints.
The leather should be sturdy enough to hold repeated movement without stretching excessively, but still flexible enough to bend smoothly.
When cutting the strips, try to get the cleanest edge you can. Ragged cuts can create weak spots that eventually tear under stress. I use a sharp craft knife and a straightedge rather than scissors whenever possible. Keeping all four strips identical helps the finished limbs move consistently once assembled.
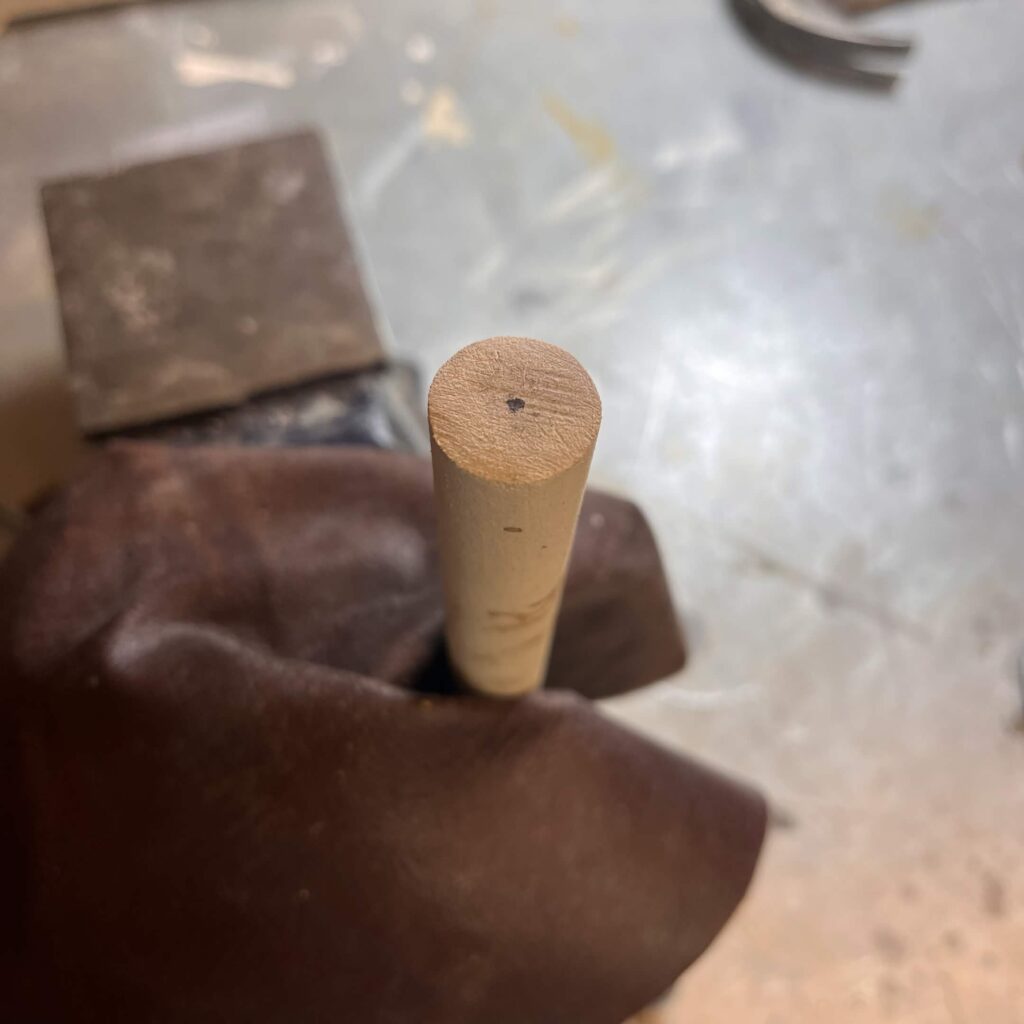
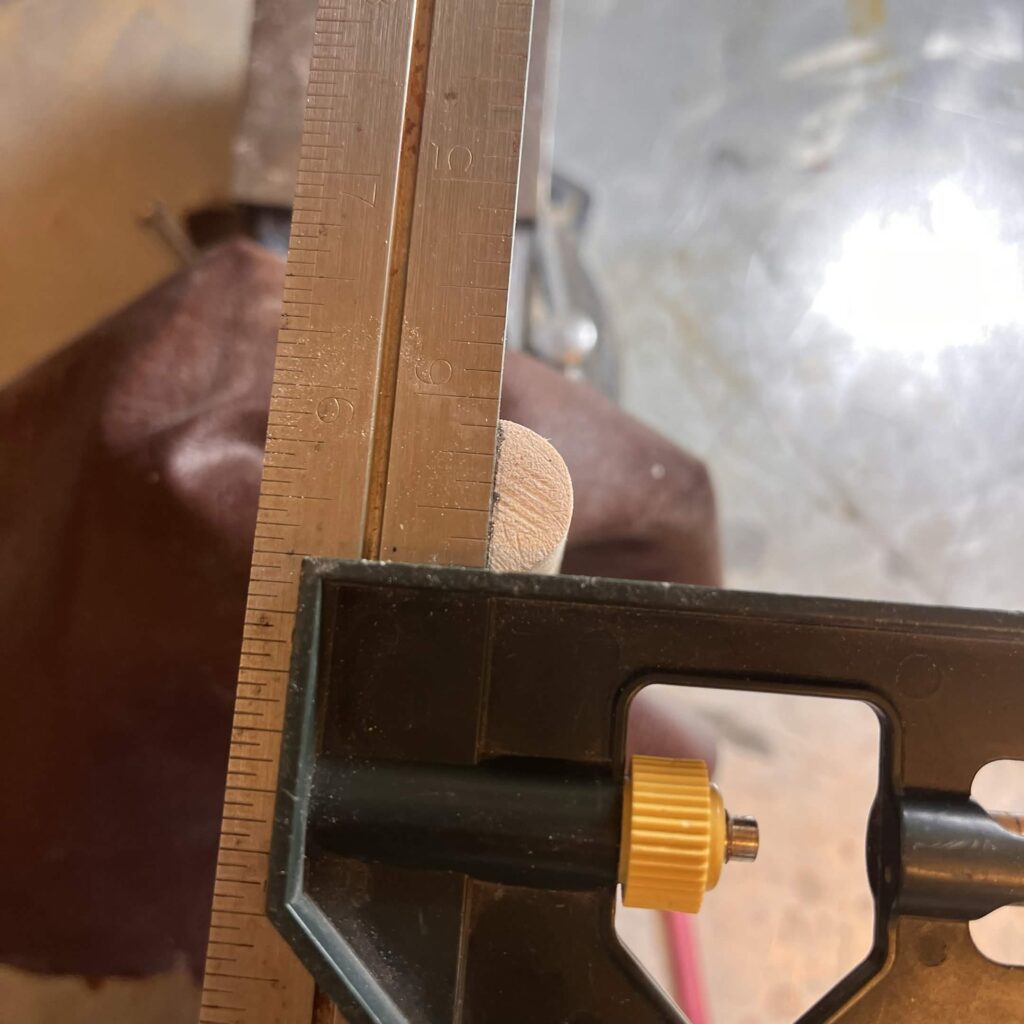
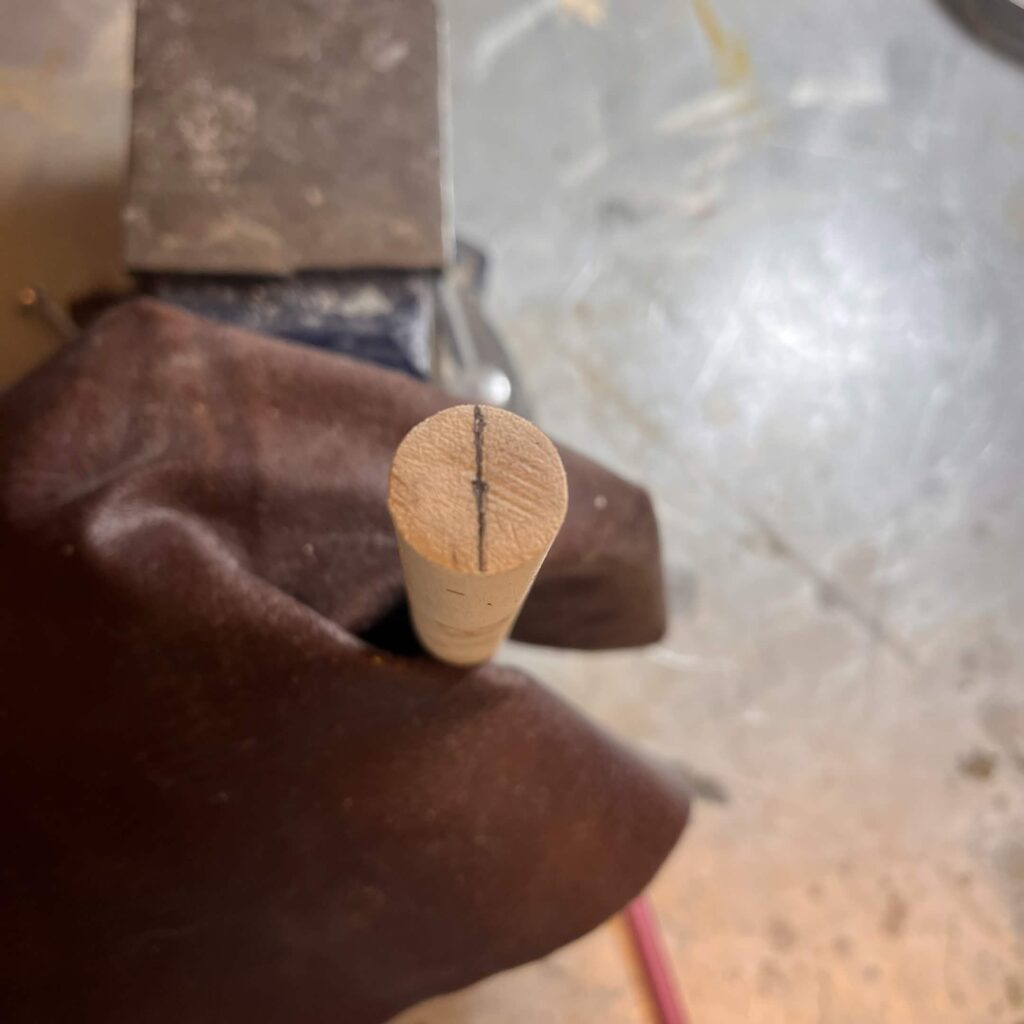
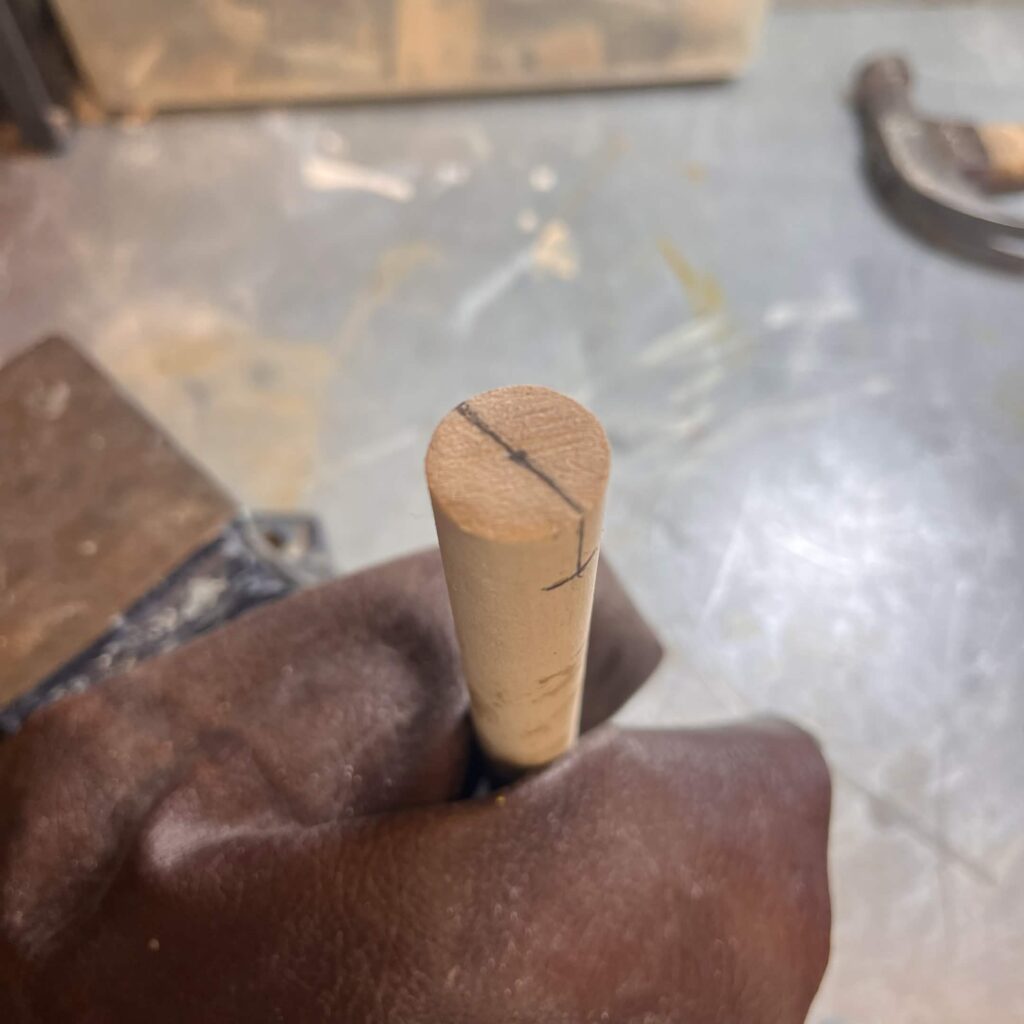
To start, you need eight pieces of 5/8 inch dowel rod. These get cut into four 4 inch sections and four 3 inch sections. The shorter pieces become the arms, and the longer pieces become the legs. Each limb is made from two sections. A bicep connects to a forearm, and a thigh connects to a calf.
As soon as the pieces are cut, I label every one of them. Bicep, forearm, thigh, calf. It sounds unnecessary at first, but once you begin shaping and sanding, it becomes very easy to mix things up.
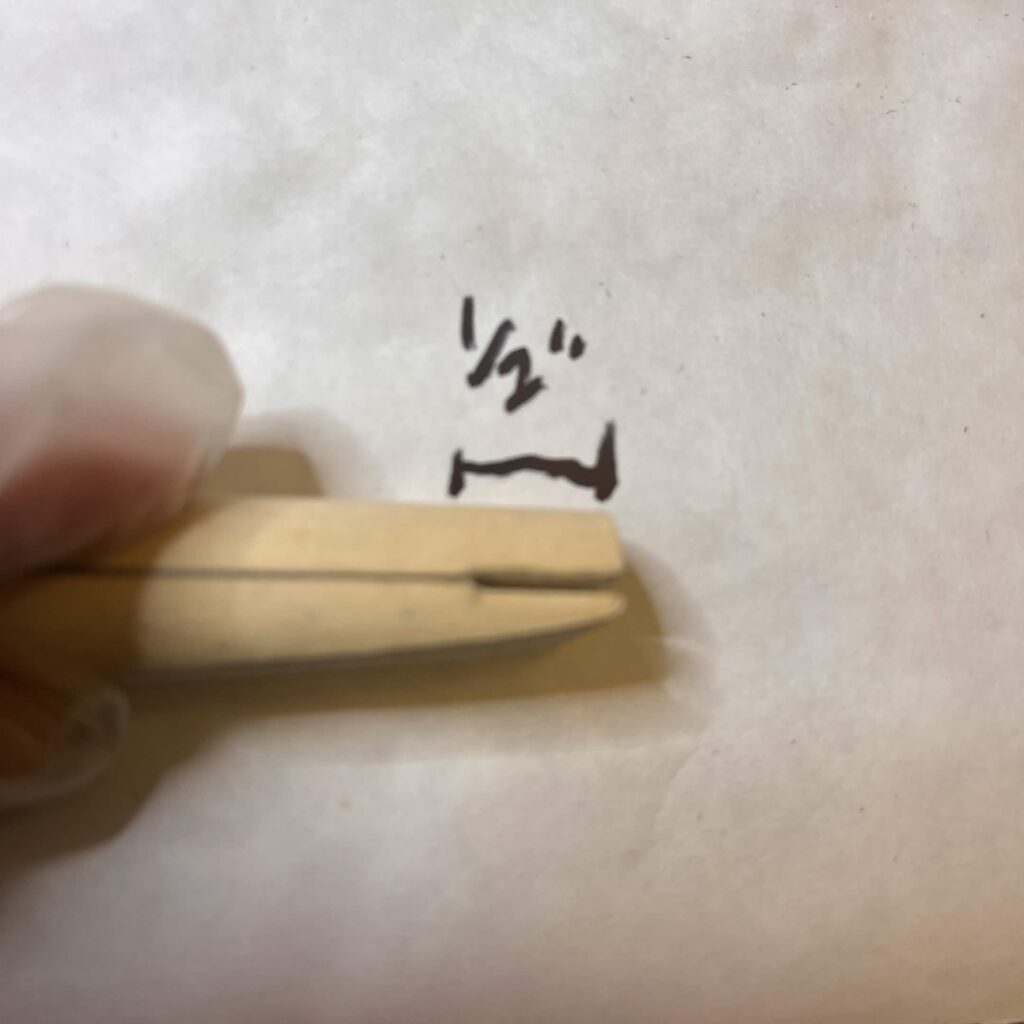
On one end of every dowel section, I mark the exact center of the circular face. From that center point, I draw a straight line that perfectly bisects the end. That line gets carried down both sides of the dowel for half an inch. These marks act as guides for the saw cut that will hold the leather hinge.
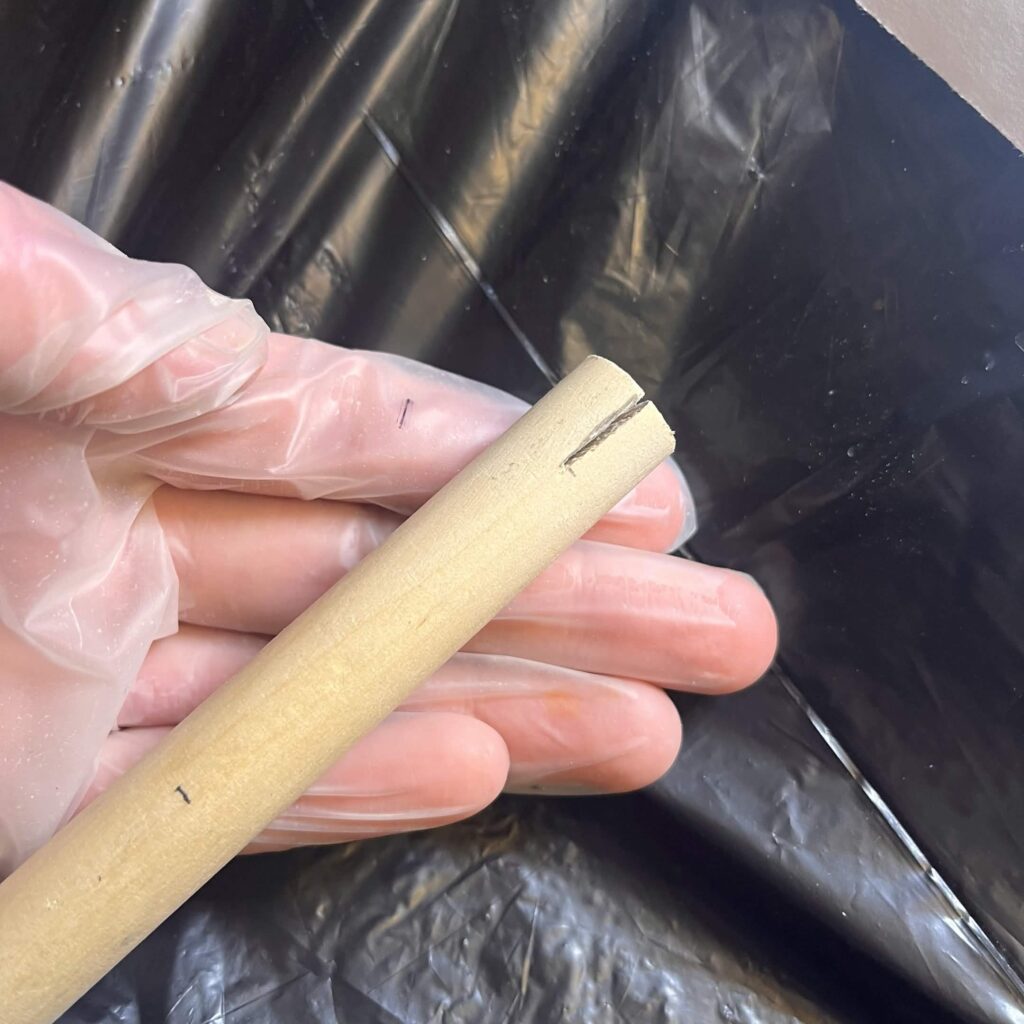
To cut the slots, I use a hacksaw. The trick is not speed but control. Every few strokes I stop and check the cut to make sure it is still tracking straight and not drifting off the guide lines. The slot should stop exactly at the half inch mark.
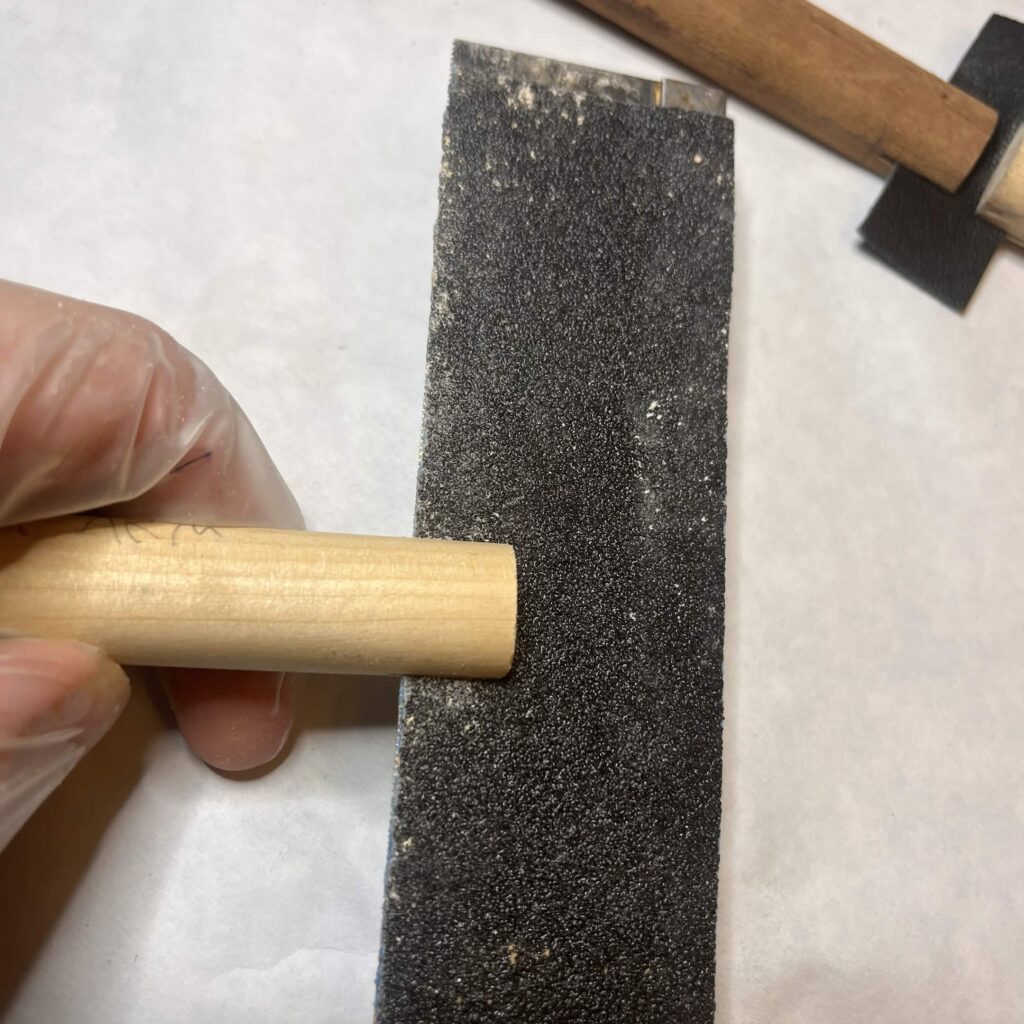
To widen the slots, use very thin file (or in my case, sandpaper glued to a very very thin flat saw blade) and slowly remove material from the inner faces of the cuts. Both sides need to be filed evenly so the leather sits centered inside the slot. I work gradually, clearing sawdust constantly and test fitting a scrap of leather over and over until the fit feels right. The leather should slide in and be slightly snug, but not too snug where it’s hard to center the leather in the slot.
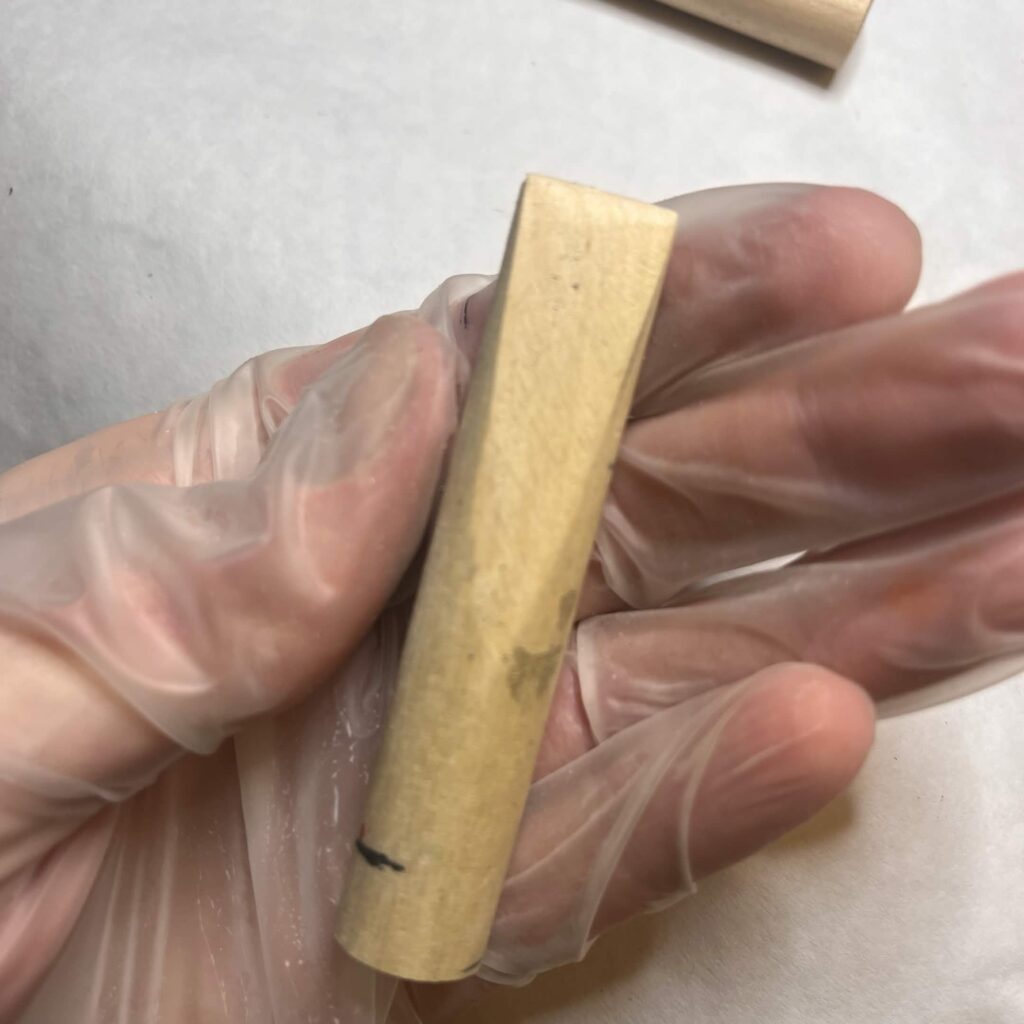
After the slots have been fitted, it is time to shape the limbs themselves. The inside faces of the elbows and knees need to be pared away so the joints can bend naturally, while the outside faces are left untouched to act as stops that prevent hyperextension. I use a combination of files and sandpaper for this step. The most important thing is consistency. All of the arm sections should match each other, and the leg sections should match each other as well. If one knee has more material removed than the others, the marionette’s movement will look uneven.
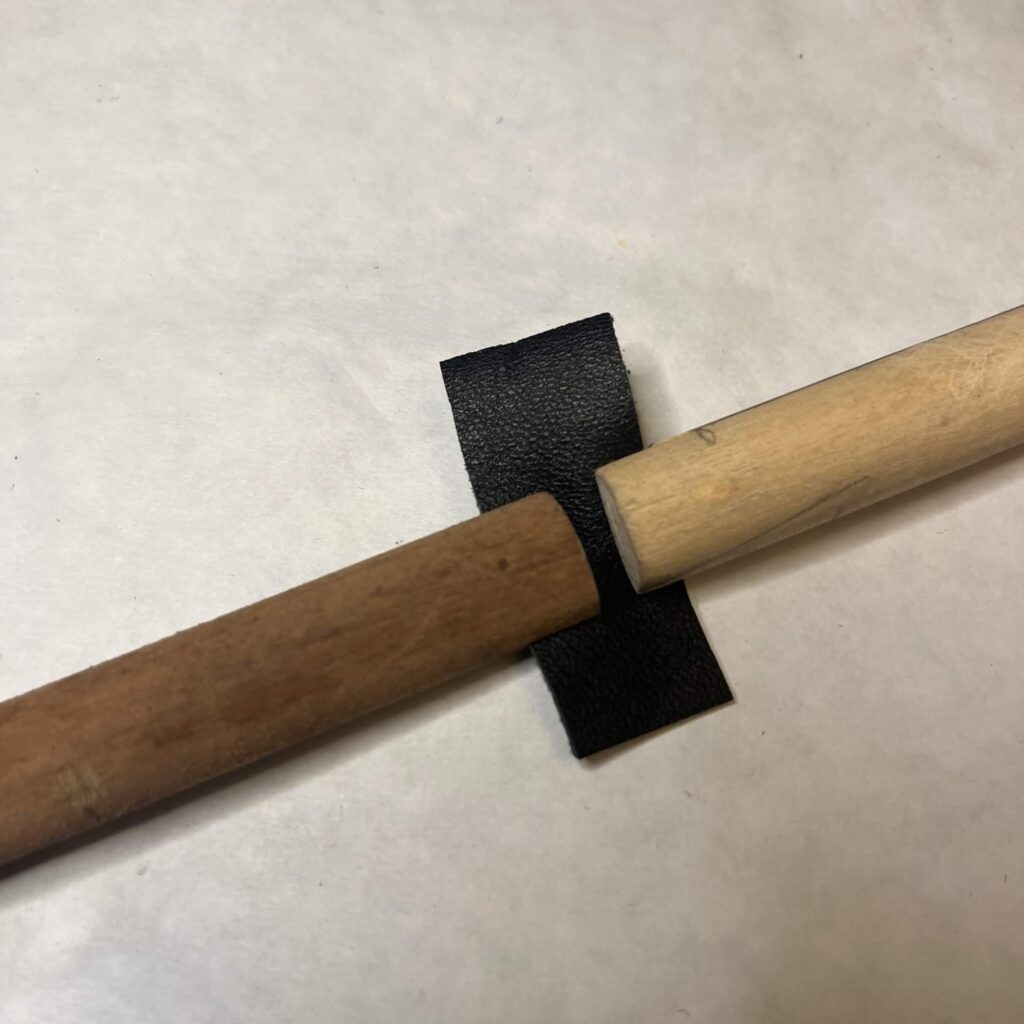
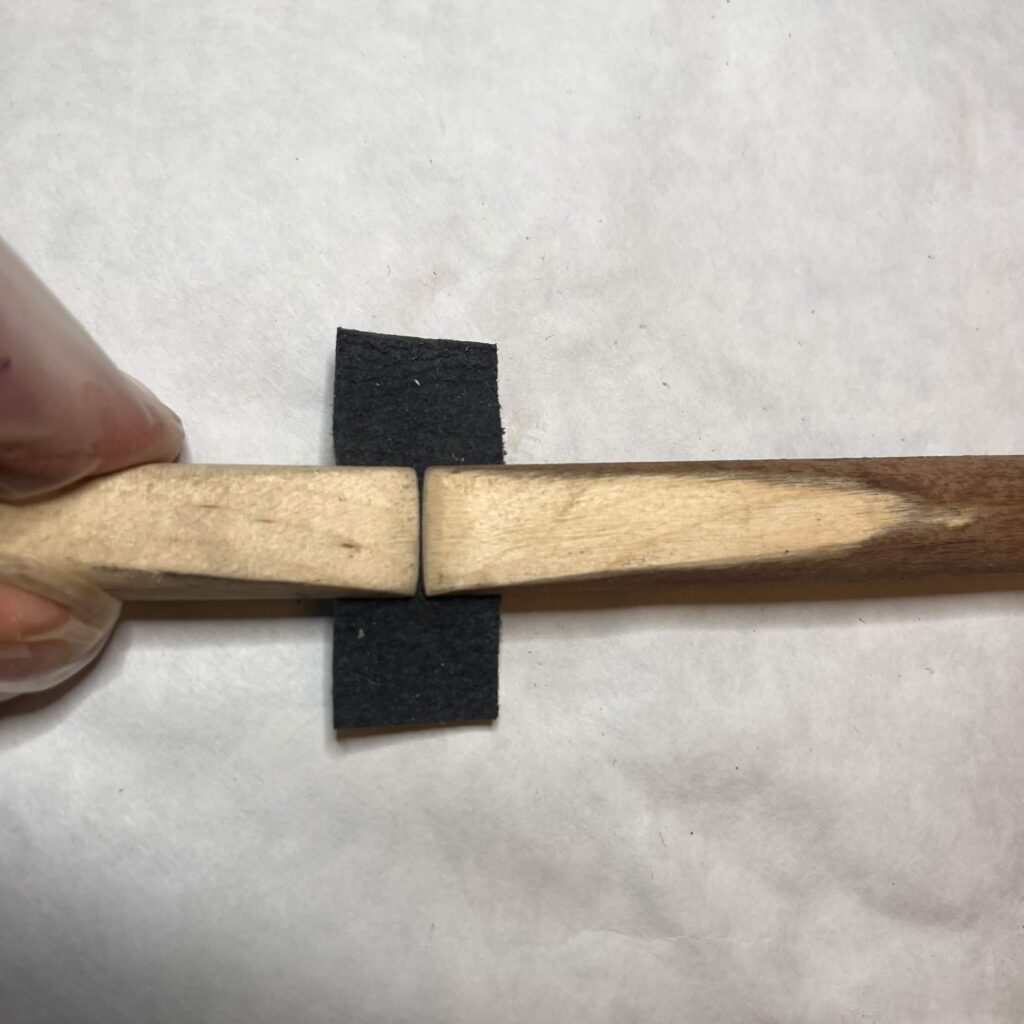
With the carving complete, the leather can finally be fitted into place.
Each strip should sit evenly between both limb sections, with the leather inserted the same depth on each side. The inner elbow or knee surfaces should come very close together without touching. I aim for roughly a 2 millimeter gap between the two wooden sections. That small gap is what allows the joint to flex freely.
At the outer ends of the slots, there should still be a tiny bit of visible empty space around the leather. That is exactly what you want. If the leather completely fills the slot, it would be much harder to get the glue into the area.
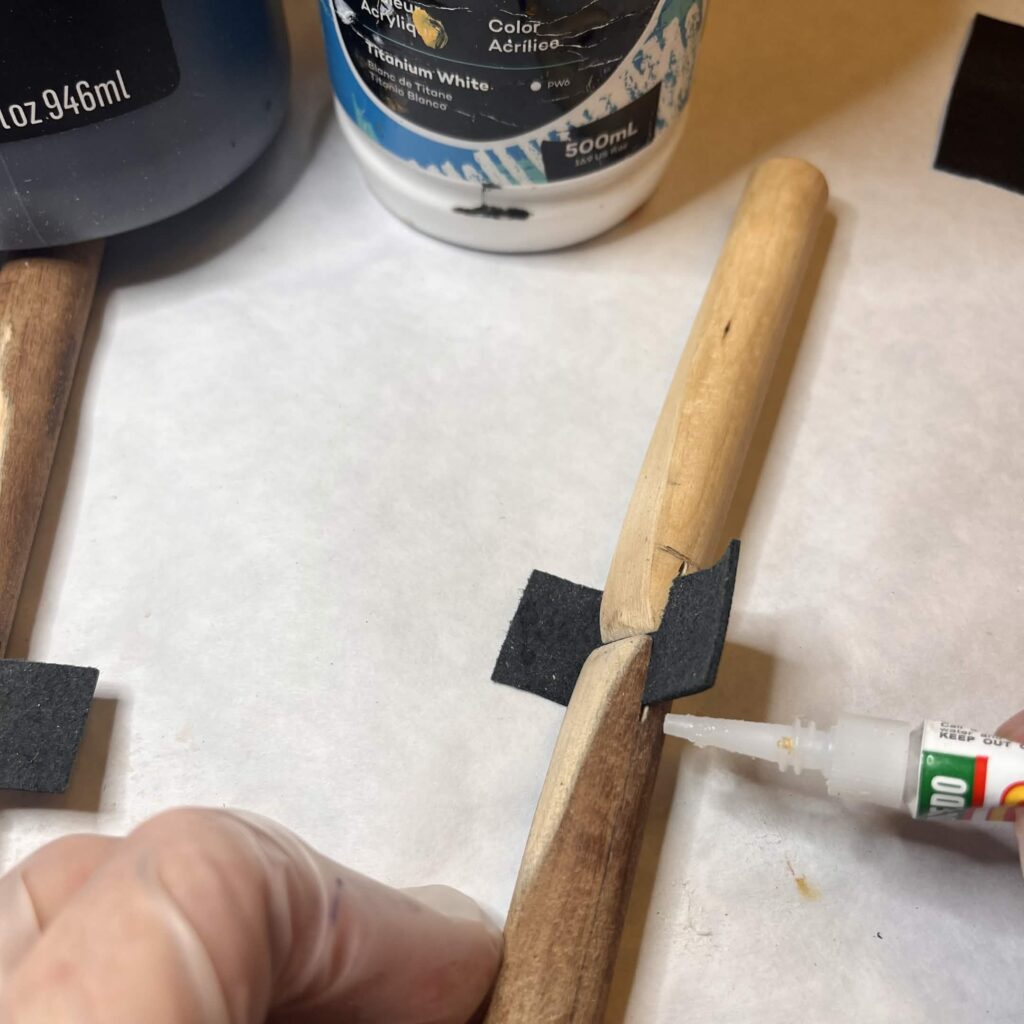
To anchor everything solid, I use CA glue. While holding the limb firmly so nothing shifts, I apply the glue into the empty space at the ends of the slots and slightly down the slit itself. The one thing you absolutely must avoid is getting glue anywhere near the section of leather that needs to flex. If glue soaks into that bend area, the leather becomes brittle and the joint is effectively ruined.
After the glue cures, I test the movement. If the joint feels stiff, I remove a little more material from the inner elbow or knee surfaces (with files and sandpaper) until the bend loosens up. During this step, it is important not to scrape the leather with any tools. Even a small nick can weaken the hinge over time.
A properly fitted joint should bend easily through every degree of motion. It should also resist hyperextension. Usually the outer shape of the wood naturally prevents this, but if the gap between the leather hinges is slightly too wide, a small glued strip of wood inside the joint (on the side of the elbows/knees) can act as a stop.
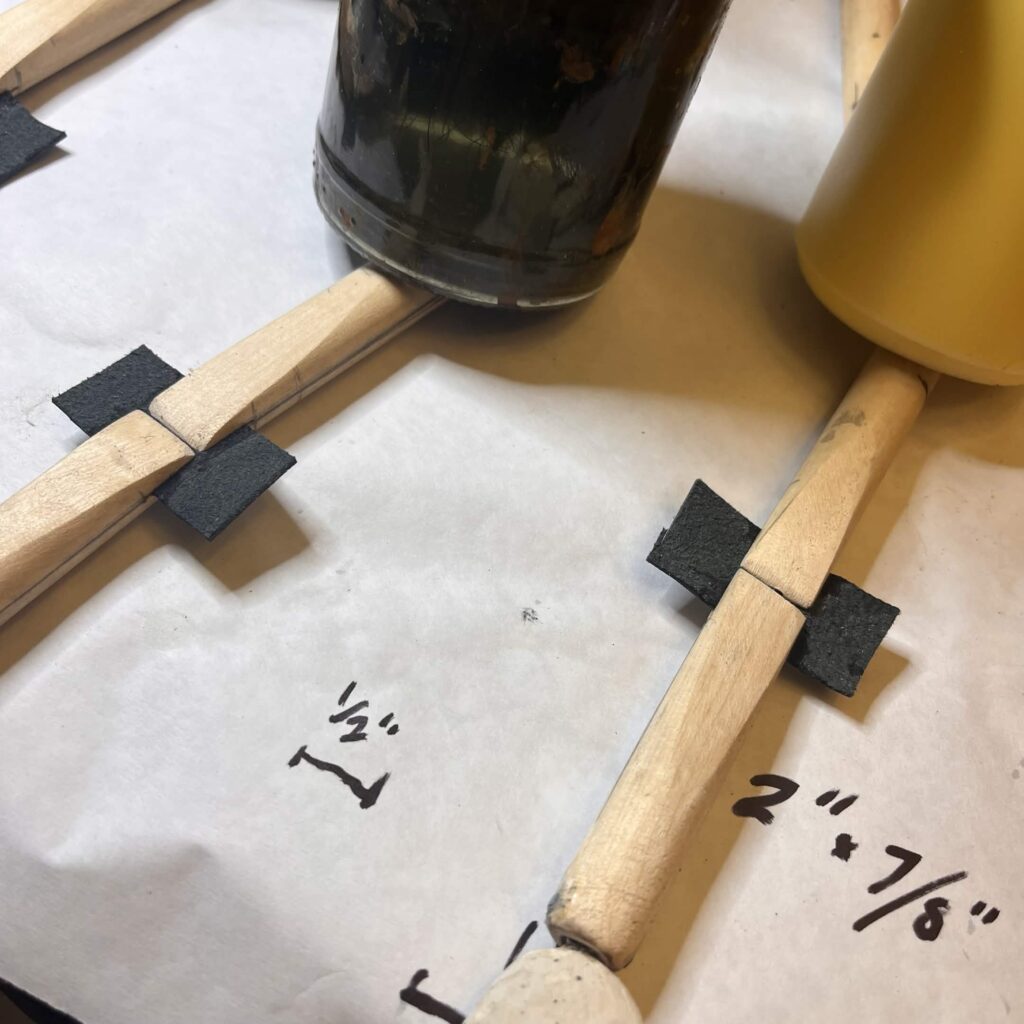
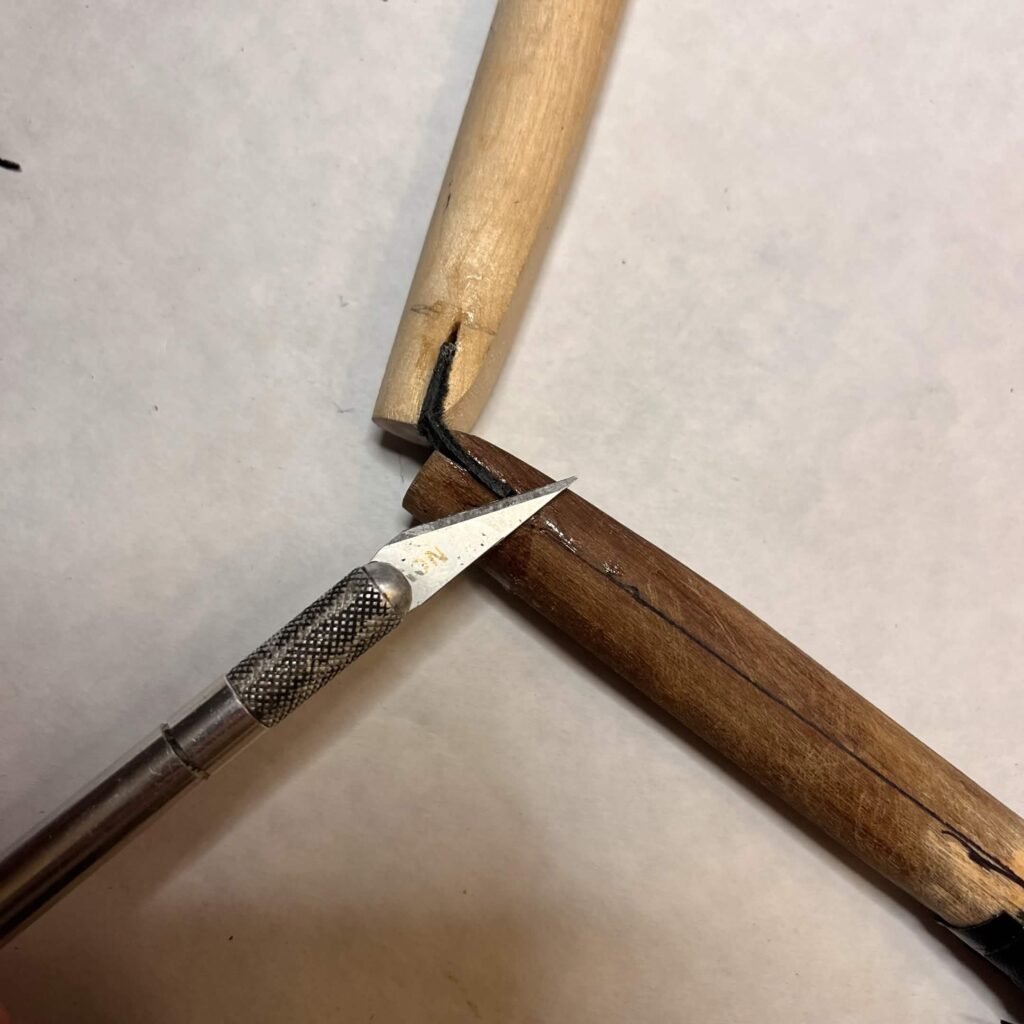
Once the movement feels right, the excess leather gets trimmed away. I rough cut it first with shears, then clean up the edges carefully with an X-Acto knife until the joint looks neat and integrated into the limb.
Good leather joints almost disappear when they are working correctly. They move naturally, stay durable for years, and give a marionette a soft, organic motion that is silent as well.
If you have any questions about the process, materials, or shaping, feel free to ask. I also offer custom puppet commissions, from rod puppets to soft “muppet” style puppets, to marionettes and everything between! Get in touch with me on my contact form here and let’s see what we can dream up.