Written by
How To Ebonize Paper Mache (Celluclay)


Written by
Category
Release Date

Welcome to the first post of my blog! I’ve started getting better about taking photos during my builds, so expect more of these in the future. I want to share my process and hopefully help some fellow makers create their own spooktacular pieces.
Now, on to the goo…
Papier-mâché goo, that is! Like with many of my projects, I start by covering a sphere with paper mâché (strips and paste. For some great paste recipes, check out here. For this piece, I needed something larger than usual, so I chose a beach ball as my base. I worried that the tightly wrapped layers might stick, but once everything dried, the shell popped off cleanly. Unlike a balloon, I can reuse a beach ball multiple times, which makes it a great option if you’re trying to reduce waste.
I built the first three layers with old newsprint, then switched to long strips of house-painting masking paper for the final layer. That outer layer added strength and created a rough texture—perfect for the next step: cellu-clay (paper mâché clay).

Now for my favorite part of the sculpting process. I mix up a homemade paper mâché clay and thin it enough to spread with an offset spatula (you can find a similar recipe here). I apply it directly onto the dried half-sphere, smoothing it out until the surface looks even and free of dips or bulges.
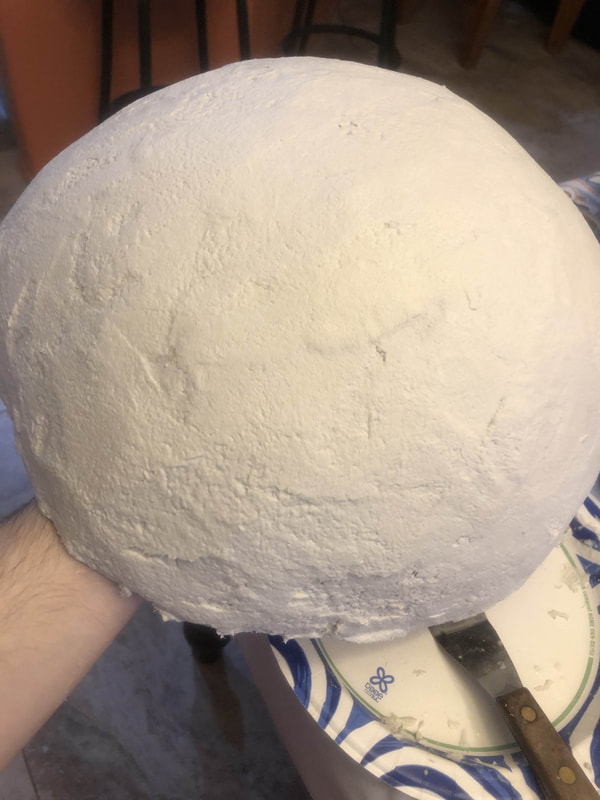
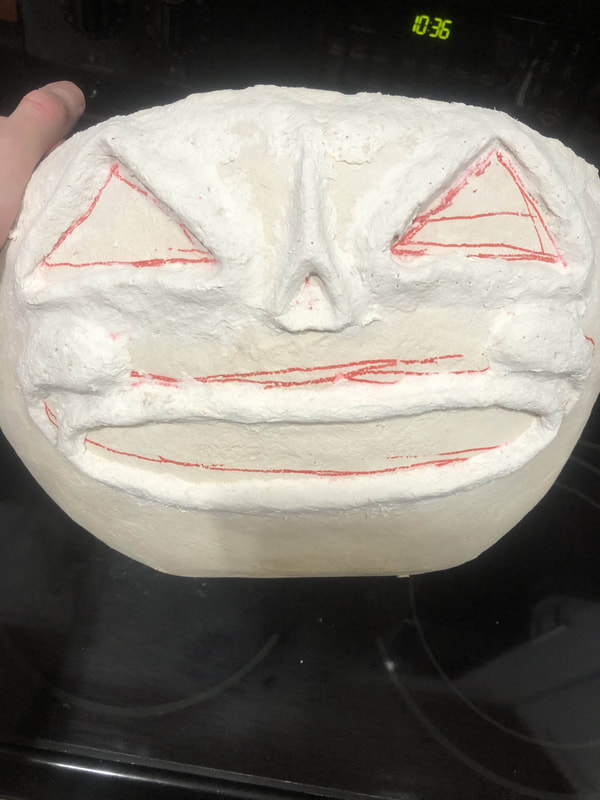
Once the clay dries, I sketch out the face to place the features, then begin sculpting. I don’t aim for perfection at this stage—carving, sanding, and joint compound will refine everything later. Getting the shapes into a solid ballpark now saves a lot of effort down the line.
After the features dry, I carve out the eyes and mouth using a keyhole saw or a thin, serrated knife. Take your time here—this material is tough and doesn’t cut easily. I usually rough out the shapes with the saw, then clean up the edges using a rotary tool (Dremel) with a sanding drum.
Only after everything fully dries do I cut out the eye and mouth openings. If you cut too early, the wet clay softens the structure underneath, and the face can sag as it dries—like a real jack-o’-lantern left out in the sun.
Then comes painting. I use high-quality acrylics to mix the perfect shade of orange. For the eyes and teeth, I layer cardstock, paint it, glue it in from behind, and blend it into the interior with more celluclay. This creates a seamless look on the inside of the bowl. After this inner mache dries, the interior of the bowl is painted black.
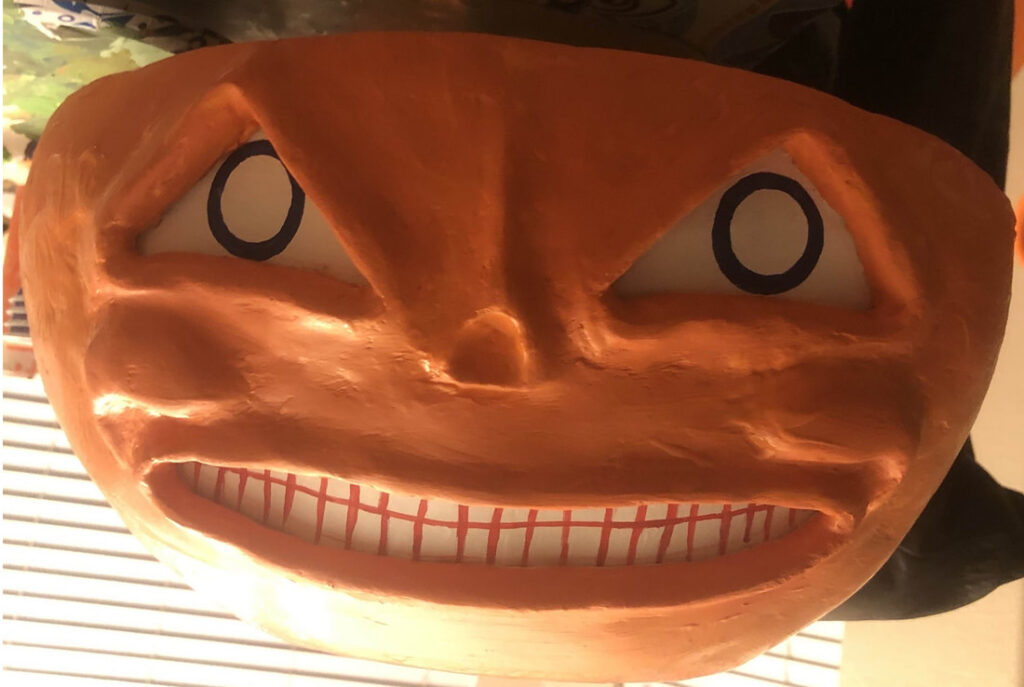
To finish, I paint in shadows and highlights, then apply a grimy dark wash (heavily watered-down black and brown acrylics) to give the piece that worn, vintage look. I seal everything with several coats of semi-gloss spray, inside and out.
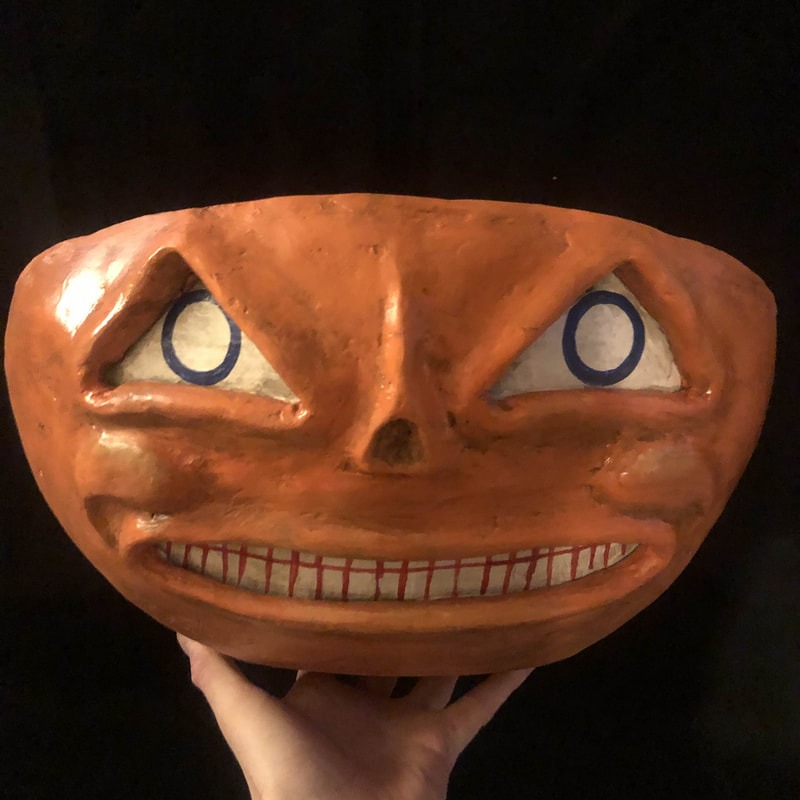
And just like that, it’s ready to grace a table for Halloween.
This piece has already sold, but I’ll definitely be making more for the 2026 season.